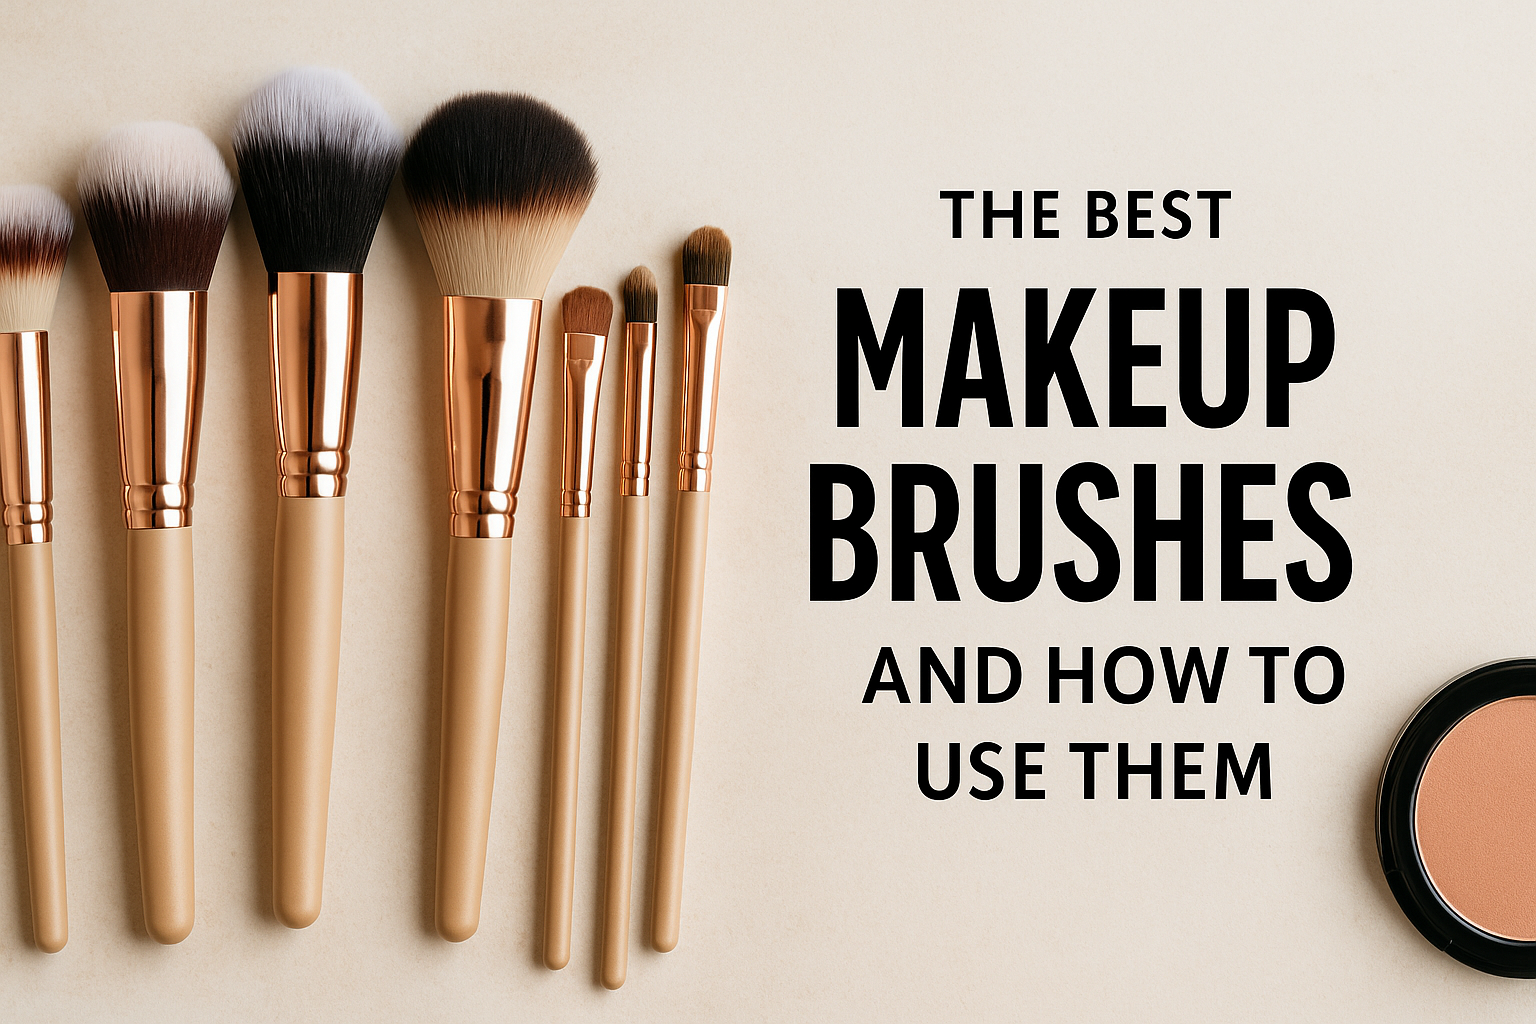
Makeup brushes are essential tools for creating flawless looks, whether you’re going for natural or full glam. But with so many shapes and sizes, it can be confusing to know which brush does what—and how to use each one correctly.
This guide breaks down the most important makeup brushes you need and how to get the most out of them, even if you’re a beginner.
1. Foundation Brush
Use for: Liquid or cream foundation
Types:
- Flat brush: great for applying foundation in smooth strokes
- Buffing brush: blends product seamlessly into the skin
- Duo-fiber brush: creates an airbrushed, natural finish
Pro tip: Use circular motions for even coverage and avoid streaks.
2. Concealer Brush
Use for: Covering blemishes, under-eye darkness, and redness
Shape: Small, flat, and slightly tapered
Pro tip: Tap (don’t drag) the product onto the skin to avoid removing coverage.
3. Powder Brush
Use for: Setting your foundation with loose or pressed powder
Shape: Large, fluffy, and rounded
Pro tip: Lightly press powder onto your face rather than swiping to avoid moving your base makeup.
4. Blush Brush
Use for: Applying blush to the cheeks
Shape: Medium-size with a slightly angled or rounded head
Pro tip: Smile and apply to the apples of your cheeks, blending upward toward the temples.
5. Contour Brush
Use for: Sculpting cheekbones, jawline, and forehead
Shape: Angled or narrow with firm bristles
Pro tip: Use a cool-toned contour powder and blend well to avoid harsh lines.
6. Highlighter Brush
Use for: Applying shimmer to the high points of your face (cheekbones, nose, brow bone)
Shape: Small, fluffy, and tapered
Pro tip: Lightly sweep highlighter on in a “C” shape from brow bone to cheekbone for a soft glow.
7. Eyeshadow Shader Brush
Use for: Packing eyeshadow onto the lid
Shape: Flat and dense
Pro tip: Pat, don’t swipe, to maximize color payoff.
8. Blending Brush (Eyes)
Use for: Softening edges and blending eyeshadow in the crease
Shape: Fluffy and dome-shaped
Pro tip: Use windshield wiper motions in the crease and small circles to blend edges.
9. Angled Eyebrow Brush
Use for: Filling in brows with powder or pomade
Shape: Firm, flat, and angled
Pro tip: Use short, hair-like strokes and build color gradually.
10. Lip Brush
Use for: Precise lipstick or gloss application
Shape: Small, flat, and slightly tapered
Pro tip: Outline your lips first, then fill in for longer wear and sharper definition.
Bonus: Beauty Sponge (Not a Brush, But a Must-Have)
Use for: Blending foundation, concealer, cream blush, and contour
Tip: Use damp for a seamless, skin-like finish. Great for beginners and pros alike.
How to Clean Your Brushes
Clean brushes = better makeup application and healthier skin.
How often:
- Face brushes: 1–2x per week
- Eye brushes: Every few days
- Spot clean between uses when switching colors
How to clean:
- Use mild soap or brush cleanser
- Swirl in your palm or on a silicone mat
- Rinse and air dry bristle-side down
Build Your Brush Kit With Intention
You don’t need every brush in the world. Start with the essentials that match your routine, and invest in quality tools over time. With the right brushes and proper technique, your makeup will look smoother, last longer, and feel more effortless.
Great makeup isn’t just about the products—it’s also about how you apply them.
You may also like this article…